
All you have to do, is one search “how to make sourdough bread” and you come up with SO many differing opinions on how to make the best loaf of sourdough bread. People have been making sourdough bread for many many years and recently it has grown in popularity, especially during the coronavirus pandemic, where everyone was forced to stay home (well almost everyone-most of my family had to continue leaving the house for work) and many took to learning the art of sourdough bread making. I jumped on the bandwagon a couple years after that only because I had been long suffering with Gastro issues related to poor quality bread products. I heard that the sourdough reacts differently in your body and thought I would give it a try. I have been hooked ever since.
When I first started making it, it was a two or three day long process, and I quickly became very discouraged. I started looking for different ways to shorten up that timeframe and found the perfect way to make it quickly.
Following this process, Chef Ben Starr shows you in his YouTube master class on what he calls his “10 minute Simple Sourdough (for lazy people!)“. And as you get better making his specific recipe and following his directions, you can indeed make it in 10 minutes. The dough that is. 👍🏻


😎 But first, let’s talk about the sourdough starter…
I originally bought my starter from Sunrise Flour Mill and the process started with re-hydrating the starter. It was pretty simple and eventually I also learned that you don’t have to feed your starter as often as most people suggest you do. (watch Ben’s video and he will explain all that!)
I keep mine in the fridge all the time. Typically, the day before I plan to use some (just so I have the fluffiest dough possible) I take it out, feed it, let it sit on the counter overnight and then pop it back in the refrigerator. But be careful, if your starter is pretty full in the jar already, it could bubble up and out overnight, leaving you a mess on your counter, so I always put it on a paper towel.
However, I have baked bread with my starter pulled right from the fridge, (as Ben says it is just fine!) that hasn’t been fed in awhile, so don’t be afraid of that. And you don’t have to feed your starter all the time…in fact, you could see how either once a week or once every two weeks works for you and go from there. Crazy right?! (that is if you’ve done any research on the subject)
Basically to feed your starter, you just need equal parts water & flour. I had always measured how much starter I had and then divided that number in half to feed it, but sometimes that was just too much starter. So you can easily just do 50 grams of water and 50 grams of flour the first time you feed yours, depending on if you’ve used any.
Here is an equipment list in case you wanted to set yourself up for success, some of these items linked are Ben’s favorites and some are just from Sunrise Flour Mill’s store. Note: I don’t have many of these items and I do just fine without them -although I do want a bread scoring tool- but don’t think you have to go out and spend a bunch of money to make your bread!
- 4 quart enameled Dutch oven
- Digital scale
- Offset bread knife
- Banneton bread proofing basket
- Danish dough whisk
- Bread scoring tool “Lame”
Here is my process using Ben’s recipe, for one “boule” of sourdough:
- 113 grams of starter (straight from the fridge!)
- 340 grams of water (lukewarm)
- 20 grams of kosher salt
- 567 grams of flour
Grab a big (I use glass) bowl and add your starter and the water to it. Gently mix until both are combined.
Then add in the flour, all at once is fine and the kosher salt on top of that. Using a fork, carefully mix everything together, until it becomes too stiff and difficult with the fork, at which point I will then wash and leave my hands wet and get in there until it comes together as a craggy ball, being sure to scrape the sides to get all the dough you can off there. 📌
Place the ball momentarily on a plate to the side and drizzle olive oil in the bottom and sides of the bowl. Place the dough ball back in and cover with plastic wrap or if you have a lid for the container you are using, do that. Let it rest overnight (you can start this late morning, afternoon or evening) somewhere that it will get some good air flow. Tip: I don’t keep mine on my granite countertops because I think that’s too cold, so it usually sits on top of the grates of my stove.
The next morning it should have doubled in size and be nice and puffy!
On a big cutting board or your cleaned countertop, flour the surface and carefully remove the dough from the bowl. Then you’ll work on creating a “gluten cloak” with your dough ball, by turning and pulling the ball back towards you. Here is a link to his video of how to make this easy sourdough bread and at the 40 minute mark, you’ll see how to shape your dough.
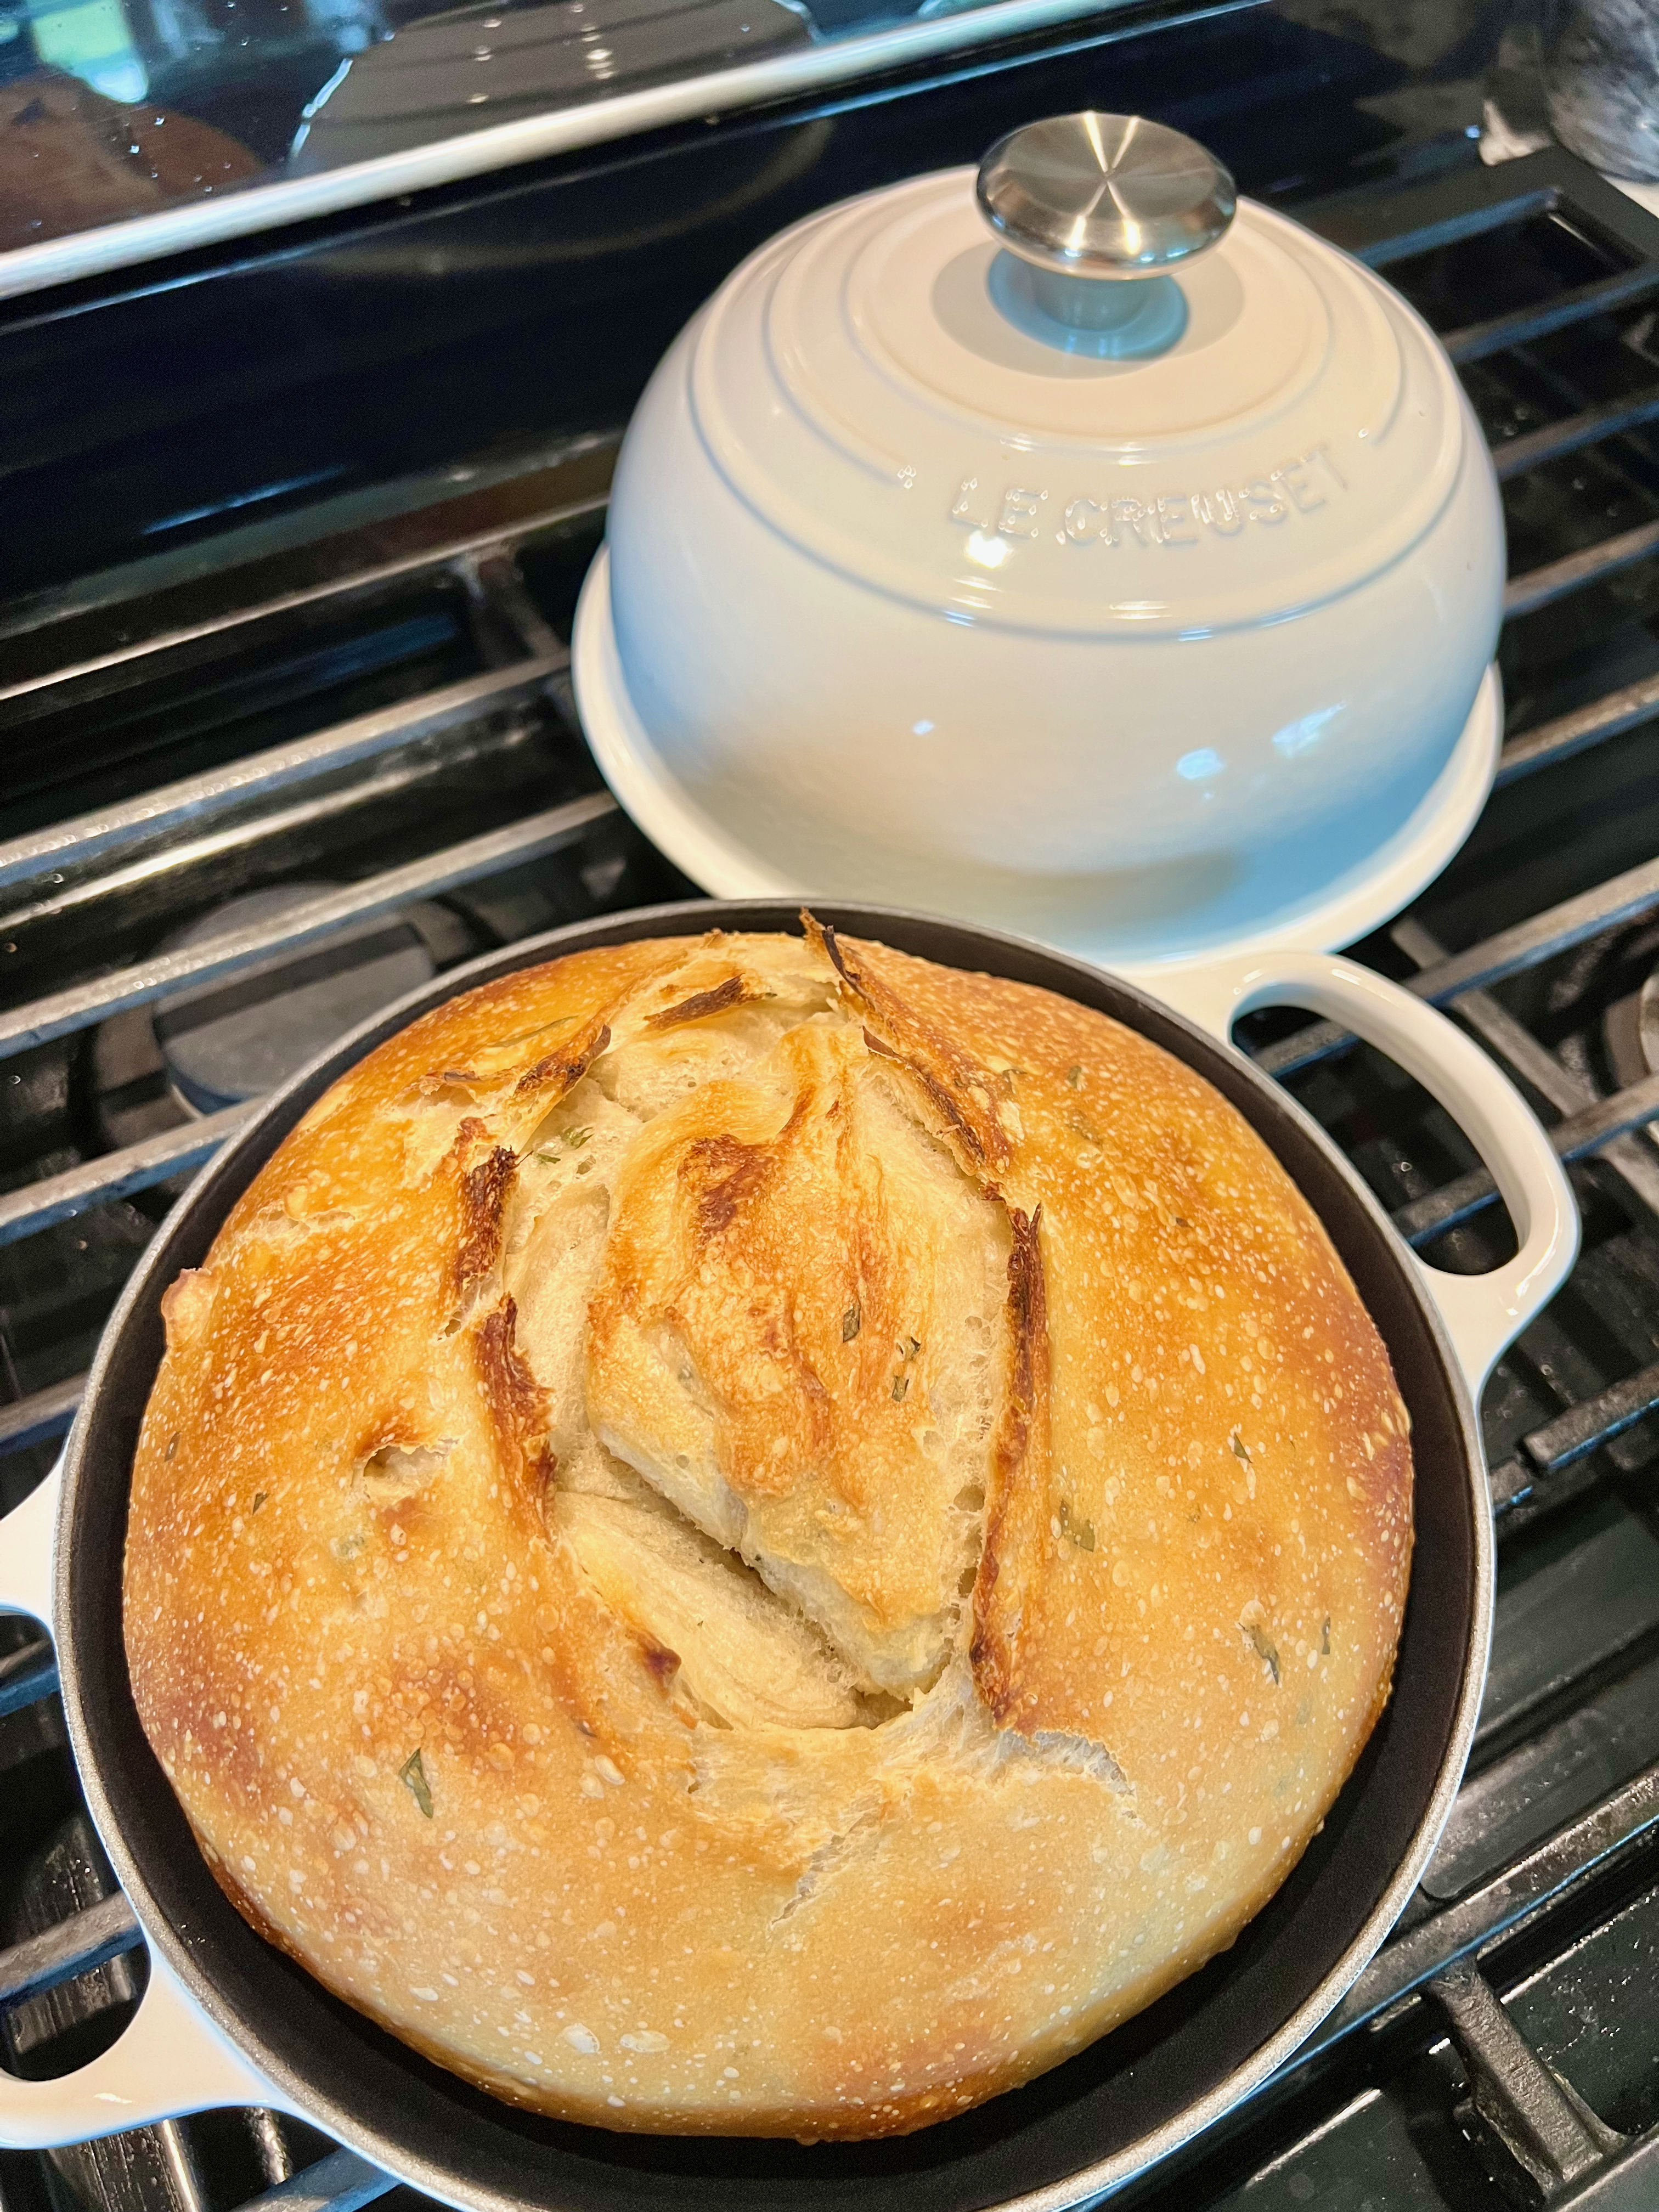
Once you have done this a few times and you’ve created a more smooth and tight top to the dough ball, you are ready to place it in your dutch oven for another 90 minute nap. I used to use a (well greased) round cake pan, inside of my dutch oven to bake the bread. I just thought it held the dough together better and didn’t spread out as much. (but that’s a whole other issue…) But my best friend gifted me a Le Creuset bread oven which I am loving using! But you are totally fine using a dutch oven or something with a taller lid.
Place the top of the dutch/bread oven on and let it sit somewhere kinda warm to hopefully rise again, for 90 minutes.
Once that has been done, place the dutch/bread oven in your oven and THEN turn the oven on to 425 degrees and set your timer for 45 minutes. (no need to preheat!) Once the timer goes off, remove the lid and place it back in the oven for another 15 minutes. The dough temp should be around 200 degrees when it is fully done baking, so hopefully you have something you can check the temp with.
I rest mine on a cookie cooling rack and don’t cut into it until it’s fully cooled (at least a few hours-otherwise it will get weird and gummy) which usually takes a few hours. Torture I know! Also, I usually take the cooled loaf and cut it in half first, wrap one half in plastic wrap and then into a freezer bag and freeze for later, mainly because we don’t go through a whole loaf that fast and it freezes and reheats great!


If you watch that whole video above he gives you SO many great tips and dispels SO many myths about sourdough baking. I love him! He has another video about “inclusions” that is great as well.
Oh and speaking of that, if you want to add things like herbs, cheese, olives, nuts, sun-dried tomatoes etc., the time to do that would be where I have 📌 marked above. Our favorite things are rosemary, parmesan & kalamata olives…white cheddar & pickled jalapeños…sundried tomato, garlic & basil…we’ve tried a sweet version using chocolate chunks and caramel bits with cinnamon and just today baked a banana chocolate chip sourdough loaf! So good toasted with good Butter!
Everytime I slice myself a piece of one of my loaves I feel a sense of pride! I sometimes just eat it plain with a little butter…sometimes I cover the slice with cottage cheese and tomatoes. Other times it’s the base of a delicious egg sandwich or tuna melt. I could go on and on… 😍
There are SO many other ways to use your sourdough starter besides bread! One of my favorite food blogger friends Amanda at Heartbeet Kitchen has tons of recipes for using your starter (she refers to it as “discard” but honestly, I never discard any of my starter…again, watch his video and he explains everything…including what to do with your hooch! 🤩) in different baked goods!

Here are a few of my favorites:
❤️ Lemon Rhubarb Sourdough Discard Cake
❤️ Sourdough Discard Pumpkin Bread
Anyway, have fun, don’t stress about being perfect! That has always been my goal, I want it to taste great which means it doesn’t have to be “instagram pretty”! Message me with any questions!
Shawn 🩷

